The Porto

The misadventures of a weekend kook

DIY

Posts 1 to 5 of 5

How to install a FCS center fin plug to mount a GoPro to a surfboard

This past weekend a decent swell showed up on the shores of Jersey. It wasn't too crazy so I figured I could put my gopro on the board. During my session, I had to take a couple of waves on the head. When I popped back up from the water, the gopro camera was hanging by the safety leash. Whew!! Besides the power of the wave knocking off the camera (yes jersey has shitty, but heavy waves) I think the main reason the camera got knocked off is because the deck is slightly curved at the nose. So the sticky pad of the gopro mount never had a solid hold on to the deck.

Happy that the leash saved my camera I decided on a more permanent solution to mount the gopro to the surfboard. I stopped at Greenlight Surf Supply, and I bought 2 FCS center fin plugs to safely mount the camera on my surfboards. You can buy the GoPro surfboard camera mount as part of the hero expansion.

First step is to figure out where to install the plugs. I measured down about 6 inches from the nose and centered on the stringer. I cut the foam quickset jig in half, since I'll be doing a second install on my other board. Removed the paper backing and placed it on the marked area.

Next, I setup up my 1-1/2 inch holesaw bit. Generally you want to use a 1-1/8" bit, but since I didn't have that, the 1/2 inch version will do. The trick here is to tape off the bit to mark how deep you will drill down into the board. You want to measure to the height of the plug, plus add a little extra for the quickset jig. Once you are sure of your measurements, drill out the plug hole, make sure to use the drill guide on the jig, easy line up.

Remove the center circle of the jig to reveal the hole you just made. If you have a router then rout out the center of the plug. Otherwise use a scissor or a flat head screwdriver and pop off the fiberglass top. I used an exact knife to remove the foam and cut out the stringer. Be forewarned, if you have a bamboo stringer, it's going to be pretty tuff to cut through it, just be patient and remove a little at a time. A balsa stringer come out quite easily and can even be snapped off once the foam is removed.

After all the foam has been removed you want to remove the inner circle of the jig and try to see if the plug sits flat inside the hole. If not, remove more of the foam and stringer until the tabs of the FCS plug sit flat on the deck.

Next mix up the epoxy resin, make sure to follow the directions for proper proportions for the resin mix. Pour in resin until it fills half way into the holes and push in the plug. Make sure to push the plugs all the way till the tabs hit the fiberglass. Fill in the rest of the hole with resin and be careful not to overfill and let resin get into the screws. You will probably see some bubbles start to come up, you can use a toothpick mix around the area and get rid of the air bubble. Let the resin harden for the next couple of hours.

After the resin has dried, remove the jig and check out the cool resin ring that is left behind. The only thing I was not happy about, was that the plug dried at a slight angle. I think this is due to the hole cut out a being bit larger and it left a bit more wiggle room for the plug. Thankfully you'll never notice the angle on a video and it doesn't effect the mount in any way.

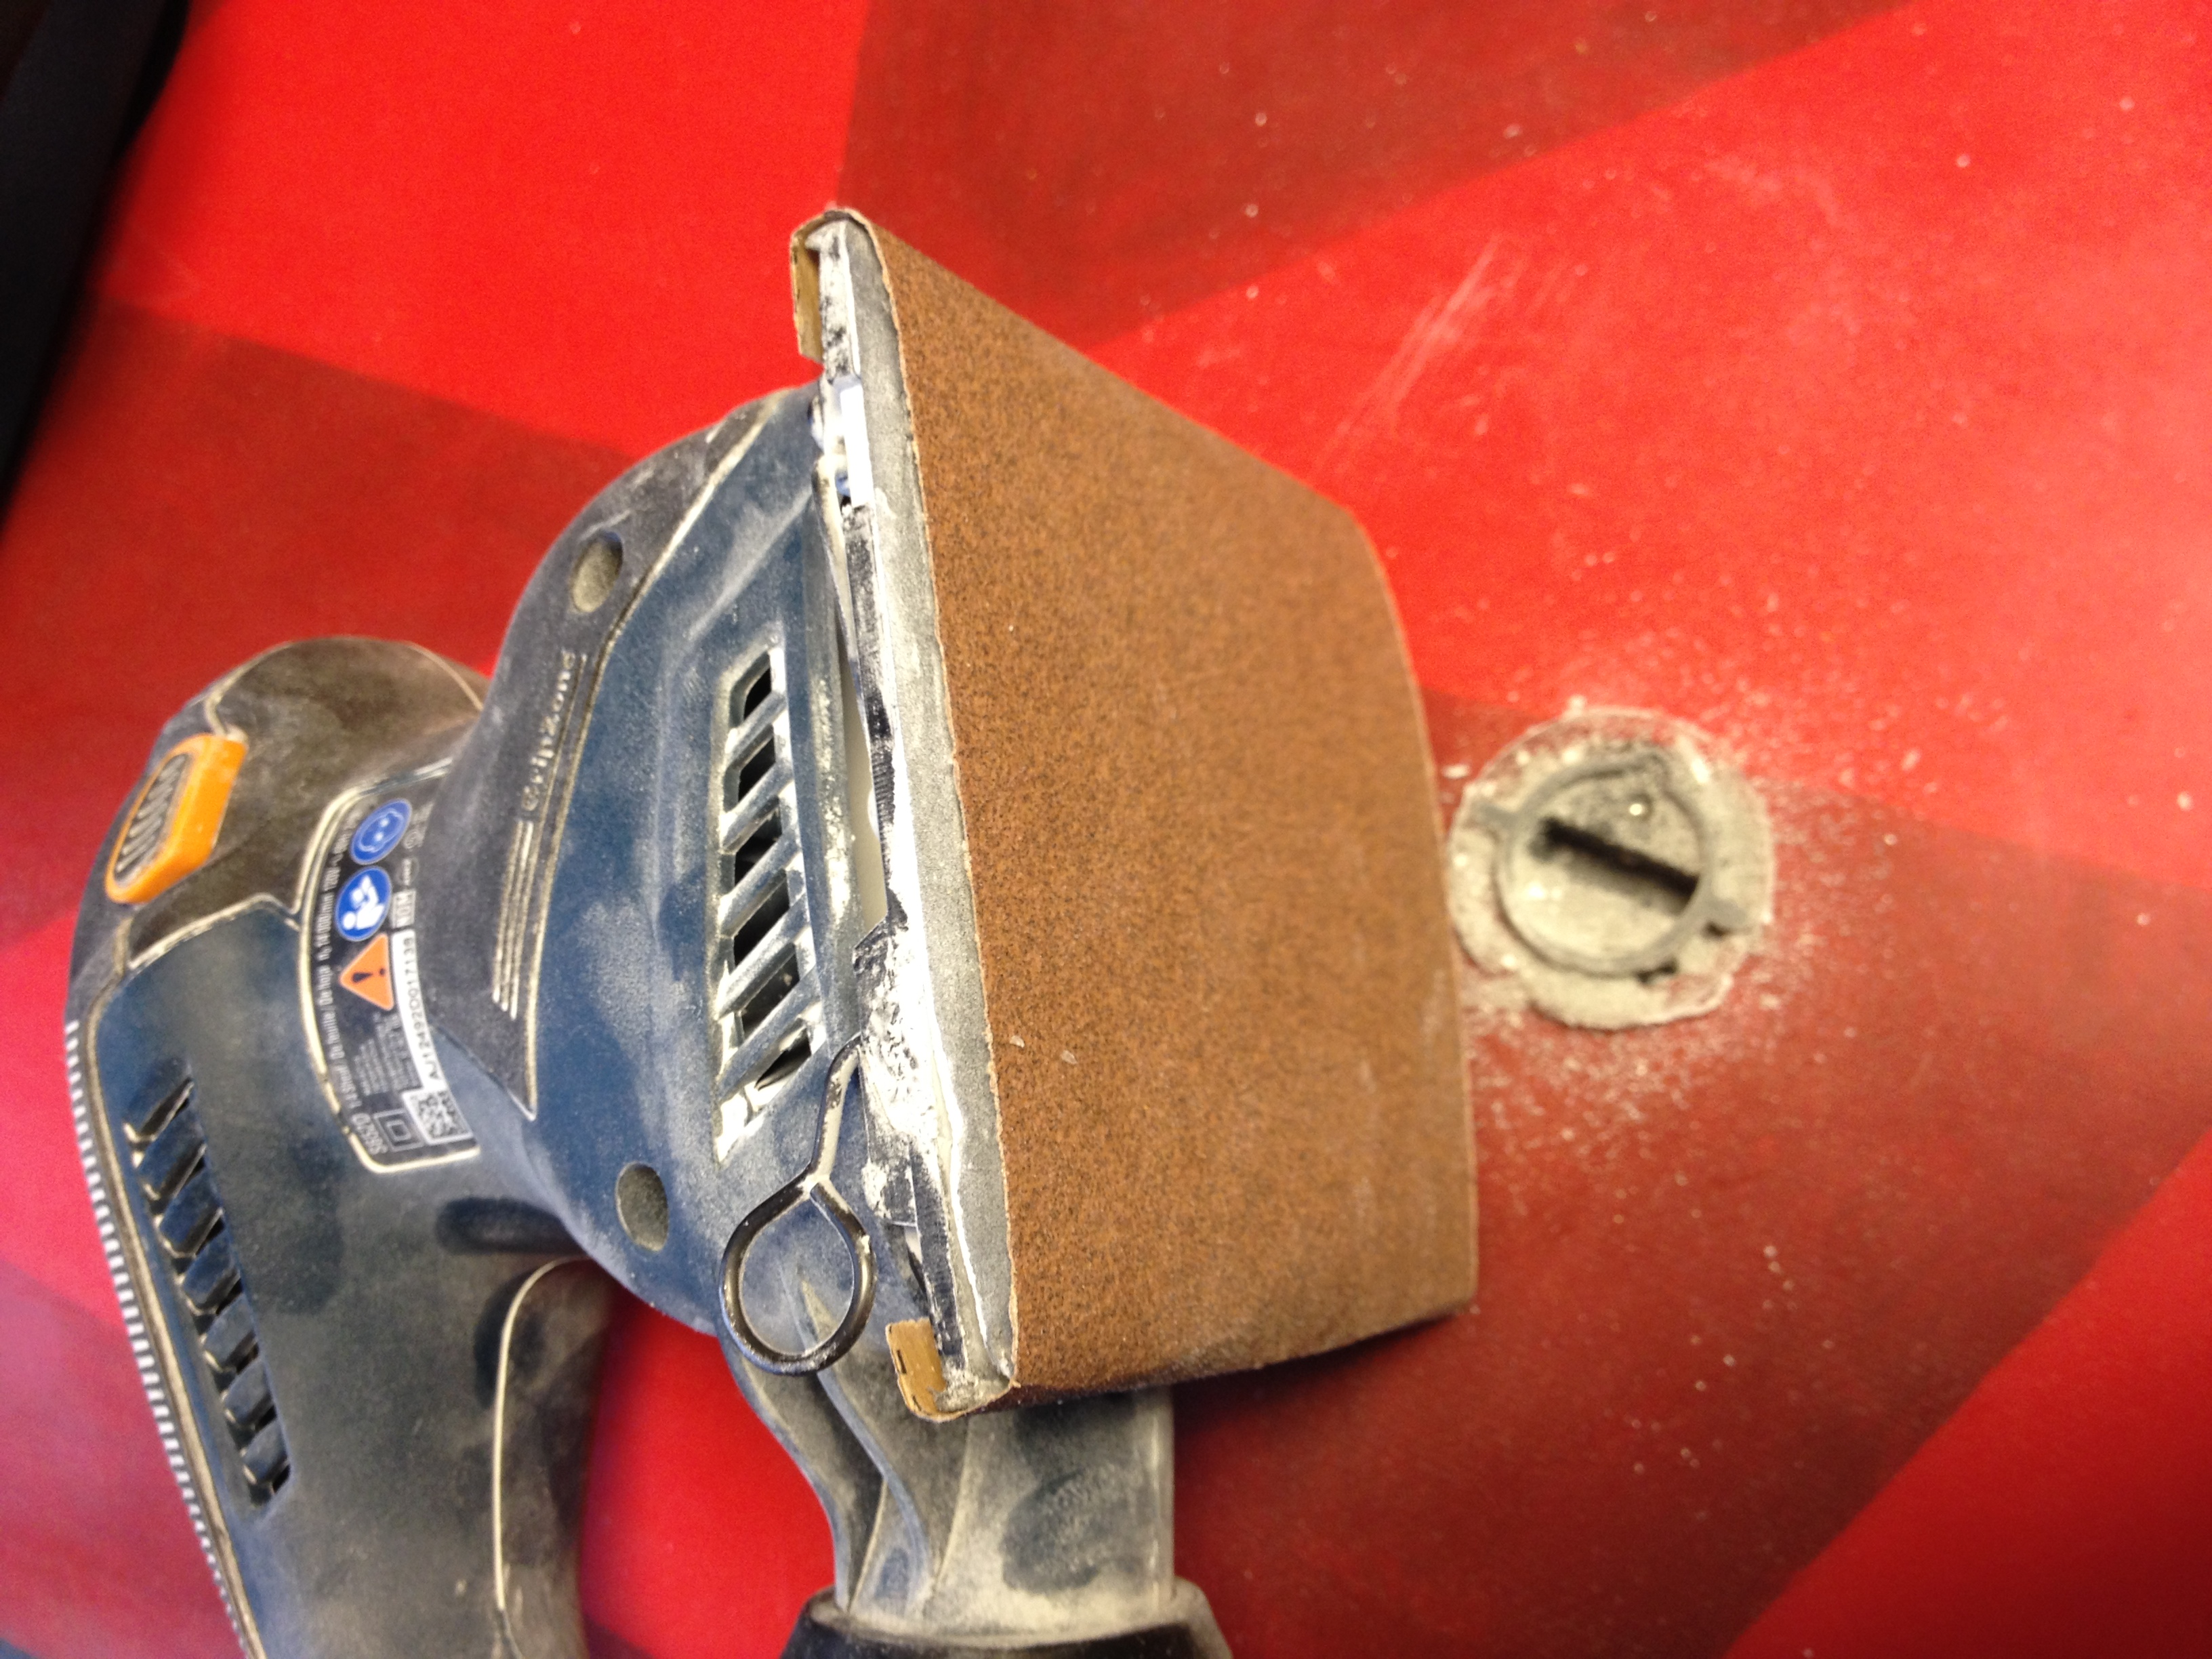
Lastly we need to sand down the resin so the plug is flush with the deck. Make sure to tighten the screw in, otherwise you will damage the sander or add a new angle to the screw. A rotary sander would be preferred for this job, but use what ever you have on hand. Sand using a pretty heavy grit to flatten out the plug and try to move in circular directions. Then move down into a lighter grit paper to bring back the sheen to the deck of the board.

Once this is all done, you should be left with a smooth deck surface and an extremely solid mount for your GoPro on your surf board. No more ugly sticky pads and having to worry if the GoPro will get knocked off.

How to keep your feet warm surfing the cold east coast winter

It's been a serious cold winter for surfing this year in upper and central east coasts. Water has been hovering at around 35 degrees with the air has been 35 degrees or lower on some blistery days. Cold weather demands good equipment. Personally I've been using an  Xcel drylock hooded 5/4 wetsuit with 7mm booties and 3 finger 5mm gloves. It's super expensive, so try to find them on sale. Personally I use seshday. And yes that link is pointing to my personal invite. I love that site and have been shopping with them for some time.

I went all Xcel, mainly because I fully believe in the drylock system. There are times that no water will get in at all, it's kind of crazy. I've used hyperflex before, but wasn't happy with it constantly flushing. Also a neat aside, the founder of Xcel, Ed D’Ascoli; grew up  a Jersey native. So the company has perspective on our cold water needs.

The problem I've been running into, is that the air feels like it's  0 degrees and the water temperature is hovering between 30 to 35 degrees. I can only last in the cold water for about 2 hours. Mind you, my body is pretty warm considering the temperature, but my feet get frozen and numb in that time period. Once you can't feel your toes, you have serious problems.

I needed to find a reasonable solution to help stay in the water a touch longer or at least have my feet not feel like a frozen popsicle. Nothing worse then walking and not being able to feel your feet. A friend of a friend got a tip from a surfer up in MA. They wear wool socks in addition to thick booties.

About 2 weeks ago, I decided to give that a try and I have to say; it helped, a lot. Instead of the usual frozen toes attached to a numbed stump, I considered a foot. My feet got cold, but not to the point before they start to tingle and get numb from freezing. I didn't stay longer then 2 hours in the water, but  I could have and I've repeated this a couple more times. It works!

So, you might be wondering, what kind of wool socks did I use? I've been using the kirkland brand from costco just for normal everyday use. I think it's a wool blend. It's pretty similar to these wool socks they sell there. The version I own are probably not available anymore.

Another question that arises, did I lose any feeling with the added thickness? Sort of. Wearing the wool socks makes it feel slightly squishy. But, I'd rather the thickness then numb feet.

Lastly, There's one additional added benefit, besides keeping your feet warm. I have a super hard time getting out of the wetsuit. Mainly around the ankles. It's almost impossible being tired and cold. But, with the socks, the wetsuit peels away so much easier. It's a win win.

I hope this helps somebody out there looking to surf longer during the winter.

How to fix surf board dings and a popped fin plug

A couple weeks back I had the pleasure of surfing in NY's Long beach. If you haven't ever gone there to surf, I highly recommend it especially if you're a goofy footer, beautiful long lefts. Unfortunately, this particular day the ocean was too full and breaking right on the shore. While it made for a nice challenge I walked away with tons of sand on my ass, a broken fin and a popped fin plug.

A super ding, broken and delaminated glass. Popped fin plug

After consulting with Brian of GreenLight Surf Supply I got the low down on how to fix dings. Granted this was a bit more then a typical ding repair.

You'll need a few supplies to get the job done, you can find most of these things online by searching for epoxy ding repair kit. Luckily I had left over supplies from my last board build.

Clear the damaged area

Removed delaminated glass Sanded and cleaned

The first thing you need to do is clear and cut away delaminated areas. Normally you can leave this on and just apply a quick coat of epoxy to "re-glue" it back down. But my particular case some of the foam beneath it separated and I needed a clean area to fix this. After it's been cleaned up, tape up the fin plugs and sand everything down about 2 inches past the inbox and rail using 80 grit sand paper. You basically want to scratch up the surface so you can get a good bond when epoxying later on. you might notice some yellow on the foam. I didn't have any q-cell resin so I just glued the large piece of foam that got popped off. Worked a charm.

Get patching

At this point you want to cut 2 patches of 4oz fiberglass cloth the first patch being small and going over the edge of the ding. The 2nd patch should be larger covering the smaller patch.

Patches Small patch first Larger patch second

Glass repair

At this point as you can see I painted the foam to match up the color of the surfboard. I didn't want to completely hide the damage, so I only did one coat of color to show through the carnage. Make sure to tape off the surrounding area, you don't want to make more work for yourself later on with the sanding.

Glassing the ding

Lay down the cloth and then mix up the epoxy. When it's ready, pour the epoxy over the cloth. You know you did it correctly because the cloth will become transparent. Make sure to squeegee and roll over the rail and clean up any drippings.

Recycle the fin plug

I wasn't about to go and toss the old fin plug, especially since it was undamaged. Recycling it was an easy process. I used a sander and removed the excess resin. I also went a step further and cut in some notches to make sure it would hold in securely.

popped fin plug pre-sanding Sanded and notched fin plug tape dam installing the recycled fin plug

I went and made a simple epoxy dam in case I got a bit of an over flow. Before inserting the loose fin plug, make sure to mix up some epoxy and careful pour some 1/3rd of the height into the hole. Then attach the loose fin plug to a fin and then attach that to the board. Now the fin will be in it's proper place. Carefully pour a bit more epoxy till it tops off. Let it dry for a few hours or over night.

Glassed

Sand the glass

At this point you should have a pretty rough looking repair. Get that 80 grit sandpaper we used to rough things up and sand down the epoxied area. Be careful not too sand too deeply as you might get what is called "burn in" which just means you sanded down to the cloth. Not a big deal if you do, since the hot coat should take care of such things.

sanded ding repair

Hot coat and final sanding

Hot coat Sanded hot coat

We're almost at the final step. Mix up a tiny amount of epoxy and have a disposable 4” chip brush or something smaller. And paint on the epoxy over the rough edges, you should see everything smooth out and fill in any gaps or holes. Let the hot coat dry. And finally get a 100grit sandpaper and remove any of the gloss from the application of the hot coat. next get 200 grit sand paper and smooth that out. Lastly use 300 grit sandpaper and smooth out the area again. At this point you can go and use higher grit sandpaper to smooth things out even more.

Slowly sanding with a finer grit Deck side was also sanded, since I had to fix the rail Finished ding repair

Throw on the fins and enjoy your board all over again.

Northern east coast surf tip: How to quickly dry your wetsuit during winter

Winter time means it's bitter cold in the north east of the united states. But on the bright side, it also means pumping waves. Sometimes there will be a swell that lasts for a few days and there is nothing worse then starting your session getting into a cold damp wetsuit. After surfing in the winter for a few seasons, I've figured out a quick way to make sure my wet suit was as dry as possible for the next day surf session.

Hanging wetsuit and gear

Hopefully you've rinsed your wetsuit with fresh water and ready to hang dry. I recommend getting a closet rod and install it over the bathtub. A rod similar to: Adjustable Closet Rod 30 to 48-Inch should do the trick. The reason for having the rod is to let your gear hang and drip dry into the tub.

First thing to do is to make sure the wetsuit is turned inside out and do the same with the gloves or mitts. It's pretty difficult to turn boots inside out, but I recommend at least rolling down the top of the boots. Lastly, hand squeeze some of the water out of the wetsuit and additional gear. It's impressive how much water neoprene can hold. Less water means it will dry quicker.

If your wondering what kind of hangers I used for the boots and gloves, Skirt / Pants Hanger with Clips. I usually just ask for the hangers when I buy something a at clothing store, they will usually give it to you for free. You could use a special hanger with a fan built in UK HangAir Drying Systems for Wetsuits and Drysuits 
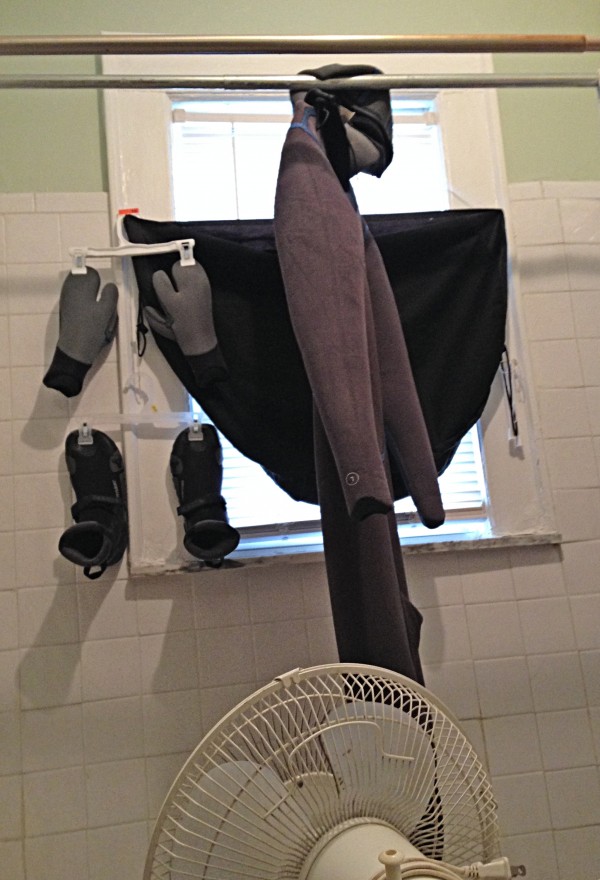
, but what do you do about the boots and gloves?

The simplest solution is to have a fan blowing on everything, any fan will do. As you can see from the photo all my gear is relatively close to each other, but with enough space to let the air flow freely around. It's important to make sure to the fan points directly at the boots. They take the longest to dry and if damp tend to stink due to bacteria on your feet. It's a pretty nasty smell, so making sure they dry pretty quickly, usually keeps the stench at bay for some time.

I've never completely timed this, but usually I hang everything at night; by morning, all the gear is nice and dry, including the inside of the boots. I'm sure everything can dry within 3 to 4 hours depending on how warm the room is and the fan is blowing and circulating the air.

Hopefully this will help you stay warm for your next winter surf session.

How to wax your surfboard with a criss cross pattern

In order to wax your surfboard you’ll need a few supplies: base-coat wax: Sticky Bumps Base Coat Surfboard Wax 4 Pack , top-coat wax: Sticky Bumps Warm Surf Wax Box, White (Pack of 3) and a wax comb: Northcore Wax Comb Comb - Surfboard . If you’re going to remove and reapply wax, you will also want some wax cleaner:Solarez Wax Remover & Cleaner (8 Oz) or Isopropyl Alcohol and paper towels to wipe the old wax off.

Choosing the right surf wax

Waxes get softer when the water is warm. A tropical temperature wax will be the ideal level of tackiness in warm water. A cold temperature bar of wax will be tacky even in cold water where most wax will have frozen up. However, if you take a cold temperature wax to warm water, it will be too soft. You can use a warmer wax in cold water as a base-coat, but it will never be tacky due to it being too hard from the cold.

Sticky Bumps Wax

Cleaning the Surfboard

It is important to first clean the deck and remove any old wax. You want to make sure that the base-coat is applied directly to a clean surface, otherwise all your hard work will rub off easily. To remove old wax, first scrape off the wax with the straight edge of the wax comb. Make sure to get any wax off of the rails by using the curved edge of the comb. Next, use whichever cleaning product you have to remove any excess wax. I recommend Isopropyl Alcohol to dissolve the thin layer of excess wax and wipe it clean. Make sure to run your hand over the deck, there should be no tackiness to it, otherwise wipe off the excess again.

The Base-coat

The reason for the base-coat is to make a bumpy pattern that will give an area for the top-coat to hold on and be tacky. The base-coat wax should be the hardest wax you can get. Since I surf in the northern east coast, I have a couple of bars of tropical wax that I use for a base-coat it’s always hard since the water temperature never gets warm enough to soften it, otherwise get the proper base-coat wax, which is slightly harder.

Criss Cross Pattern

There are many ways to apply wax, my personal favorite is a diagonal grid pattern that criss crosses. The way to create this pattern is by using the edge of the base-coat wax brick and draw a line diagonally from one corner of the deck to the other, until you start to connect from rail to rail diagonally. Don't worry if the lines aren't perfectly straight. Eventually you’ll get up mid-way up the deck where you want to stop, you should go about eight inches past where you place your front foot, unless you are on a long board, in which case continue to the nose. Next, draw the same pattern but in the opposite direction. Again, don't worry if the lines aren't perfectly straight. By this point you should start to see a diamond pattern.

Sharp Edge of the base-coat waxFirst set of diagonal linesSecond set of lines forming diamond pattern

Once you are done drawing the base lines, run the wax brick back and forth vertically from rail to rail. You should start to see the wax begin to catch and build the lines and also fill in the bare parts of the deck. Lastly, repeat the same thing, but in a horizontal or circular motion.

Base coat completely applied with a criss cross pattern

Top Coat

The top coat of wax is much softer than a base-coat which allows it to be tacky and give a grip for your feet. Since the top coat is softer, you won’t need to push down as hard to apply it. At this point you can wax on the top coat using long strokes. I like to go in a circular pattern when applying it, because I like to see bumps catch the bottom coat. But any direction you apply it in should work.

Board completely waxes with a nice tacky top coat and cool pattern. Notice the rails are waxed.

When to comb your wax

After surfing some of the top coat might rub off, be stuck on your wetsuit, board shorts or get scratched off. If the wax looks squished or flat and you don’t have extra wax to apply, use the barbed side of the wax comb to scratch diagonal lines into the wax, making a diamond pattern. If you can, always make sure to add some of wax before each surf session especially during winter time otherwise you’ll be kissing the deck more often then you know. Don’t forget to Wax The Rails!